In this blog post, we will delve into the world of data stores, understanding what they are, how to create one, and how to leverage them effectively.
What is a Data Store?
Before diving into the specifics of creating and using a data store within the Bricklayer platform, let’s clarify what a data store is.
A Data Store is a repository for text-based data (currently limited to PDF documents). It serves as a centralized hub where users can upload PDF files containing valuable information. These documents may range from company policies to research reports, providing a wealth of textual data that can be harnessed for various purposes.
The uniqueness of the Bricklayer data store lies in its ability to query this data using natural language. Users can ask questions related to the content of these PDF documents and receive relevant answers, making it an invaluable tool for extracting insights quickly and efficiently.
How do I Create a Data Store?
Creating your first data store on the Bricklayer platform is a straightforward process. Follow these steps to set up your data store effectively:
Access Your Settings:
1 – Log in to your Bricklayer account as an Organization Administrator.
2 – Navigate to the “Settings” section within your Bricklayer window.

Open Data Stores Panel:
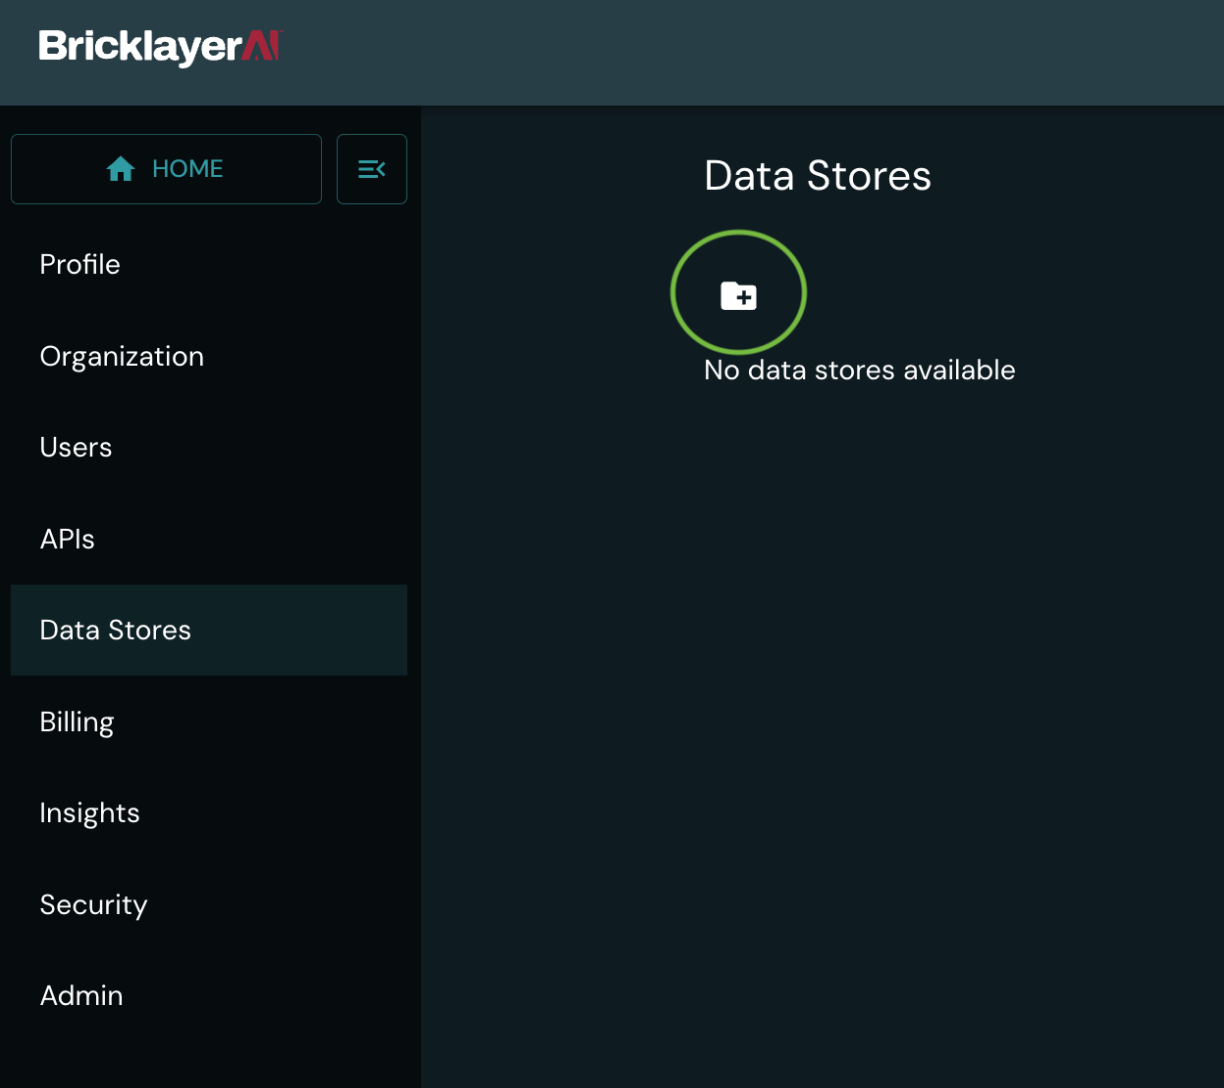
1 – Within the “Settings” section, locate the “Data Stores” panel.

2 – Click on the “Create new data store” button. This action will open a new window, prompting you to configure your data store.

Configure Your Data Store:
1 – Provide a name for your data store. Choose a descriptive and easily recognizable name that reflects the contents or purpose of the data store.
For example: “Cybersecurity Policies Data Store”
2 – Write a fitting description for your data store. This description should provide a brief overview of what kind of data the store contains and its intended use.
For example: “Useful for answering questions about the company’s cybersecurity policies and procedures.”
3 – Click “Create” to finalize the creation of your data store.

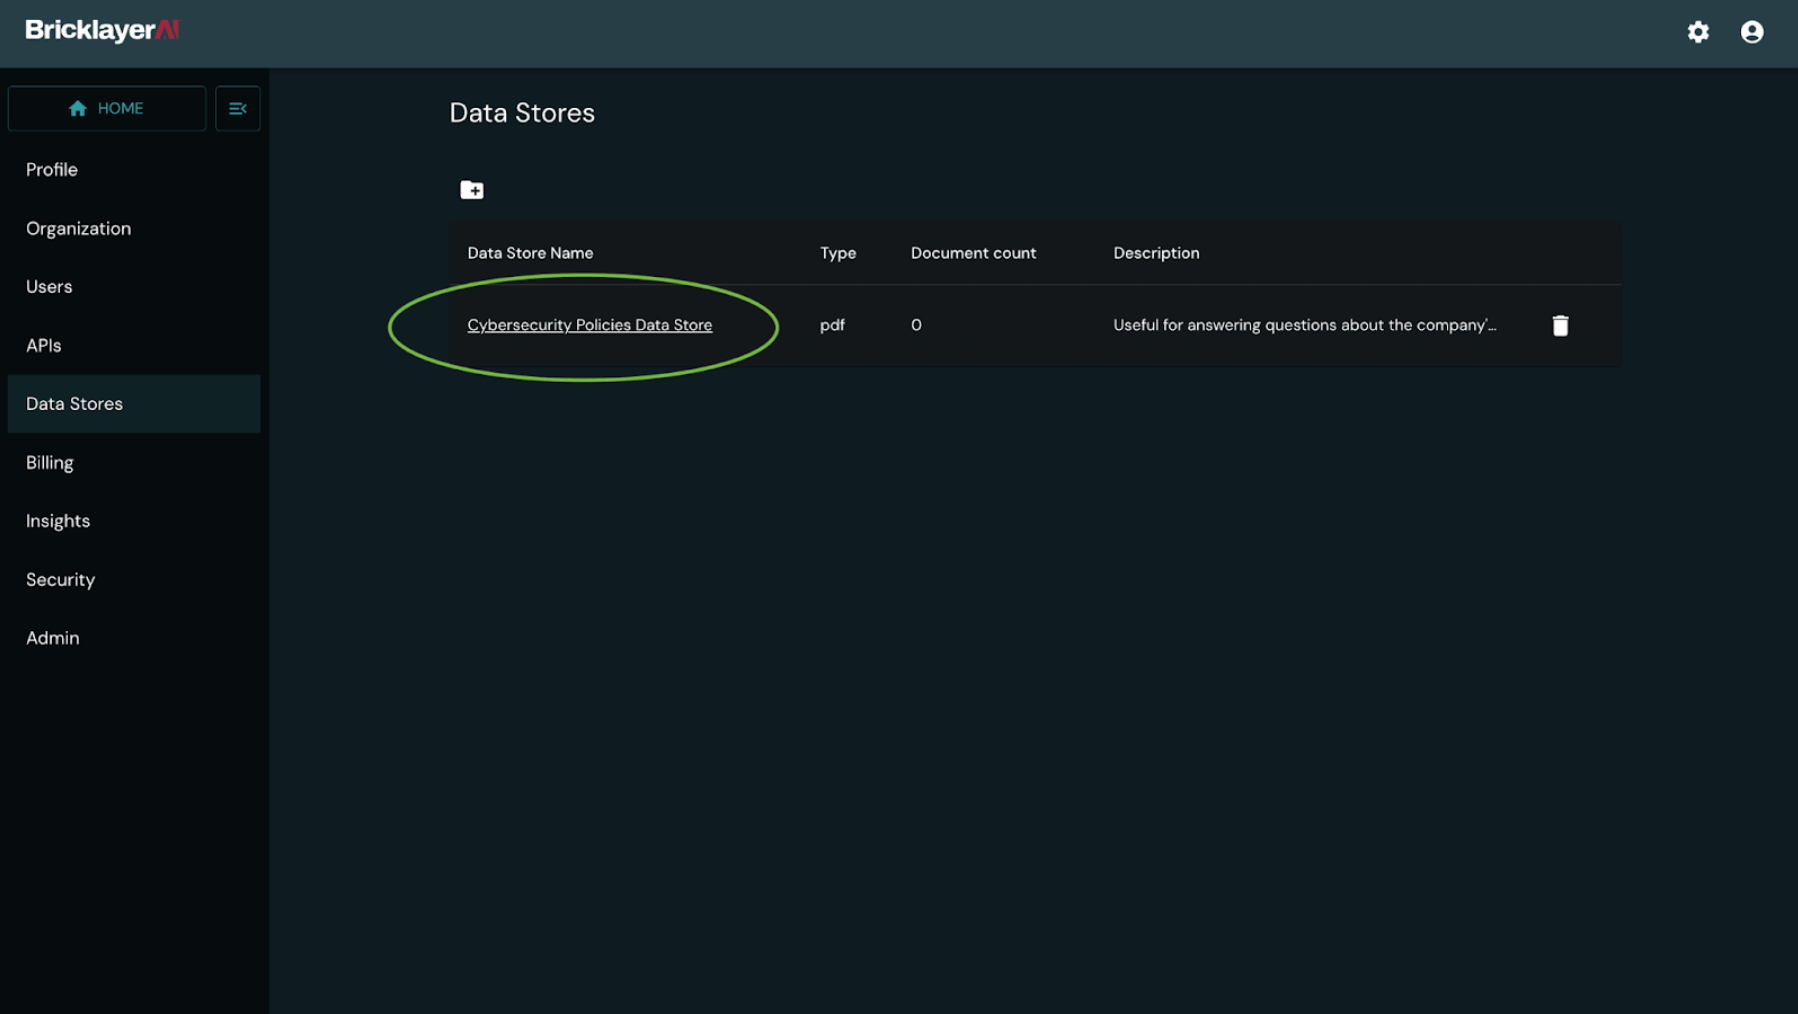
4 – A data store with no documents is now created. Click on the name to open the data store.

How do I Upload my Documents?
Once you’ve successfully created your data store, you’re ready to add your own data and begin to use it. Here’s how you can upload your documents to use your data store effectively:
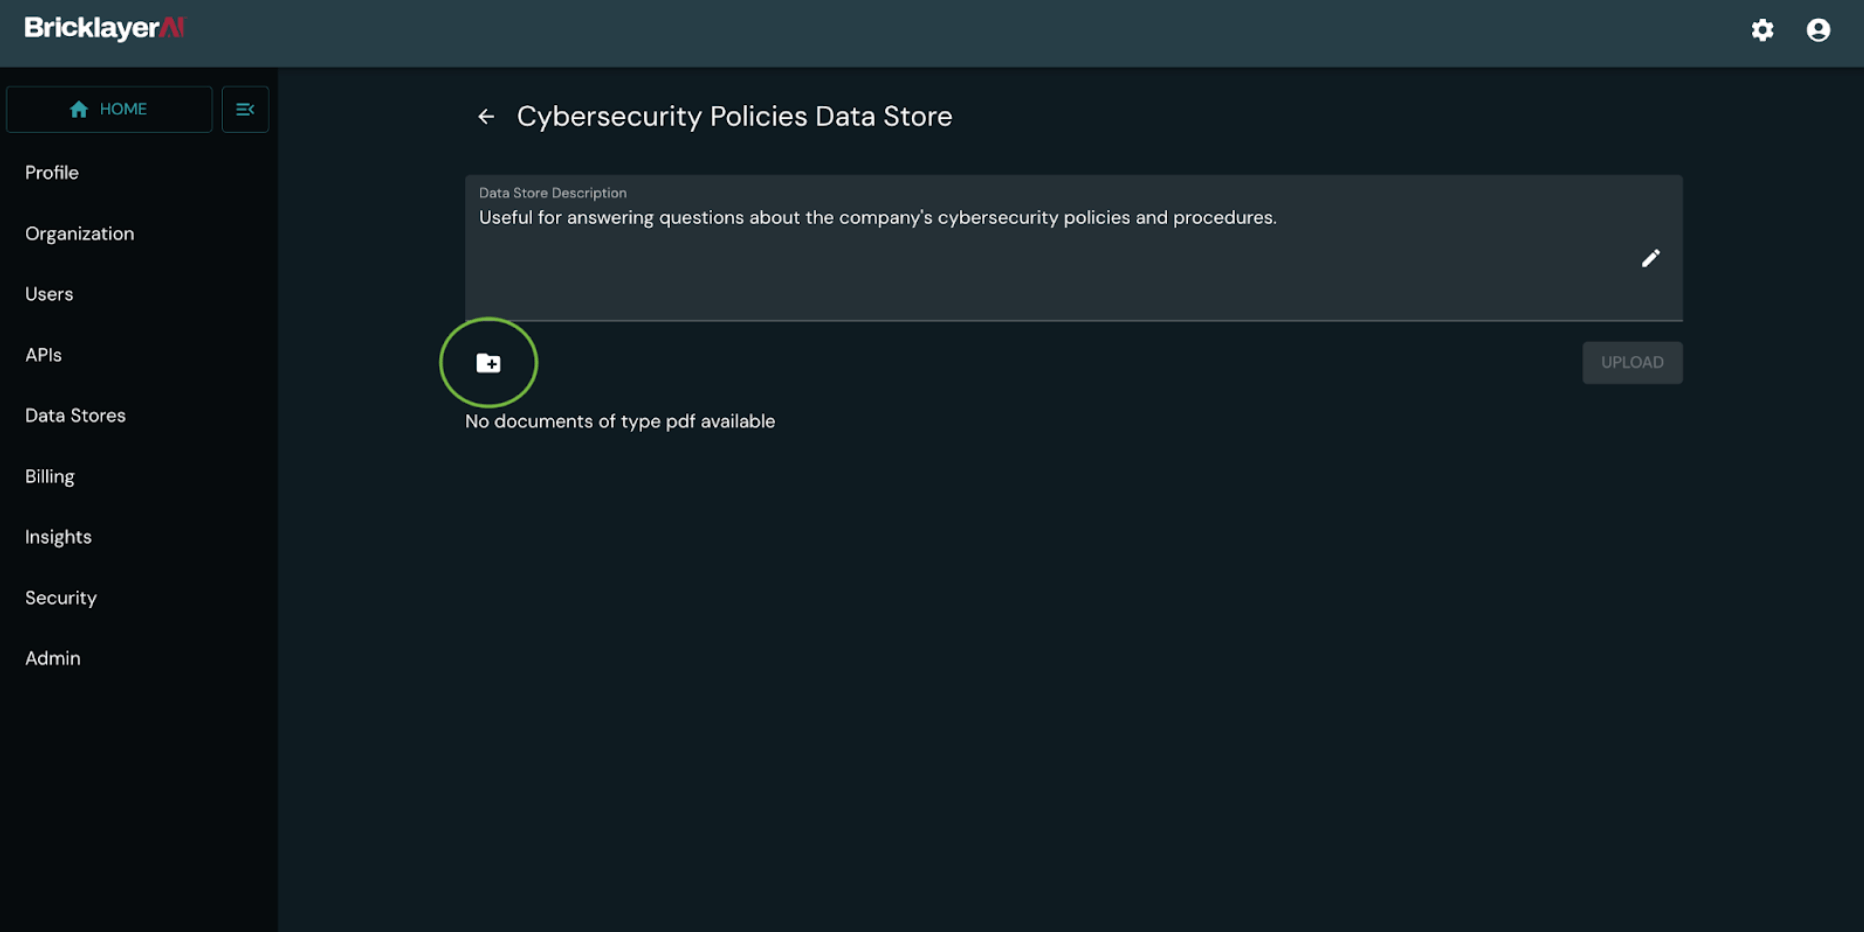
1 – Click on Add Documents: Begin uploading the relevant PDF documents to your data store by navigating to the datastore and clicking on the add documents icon.

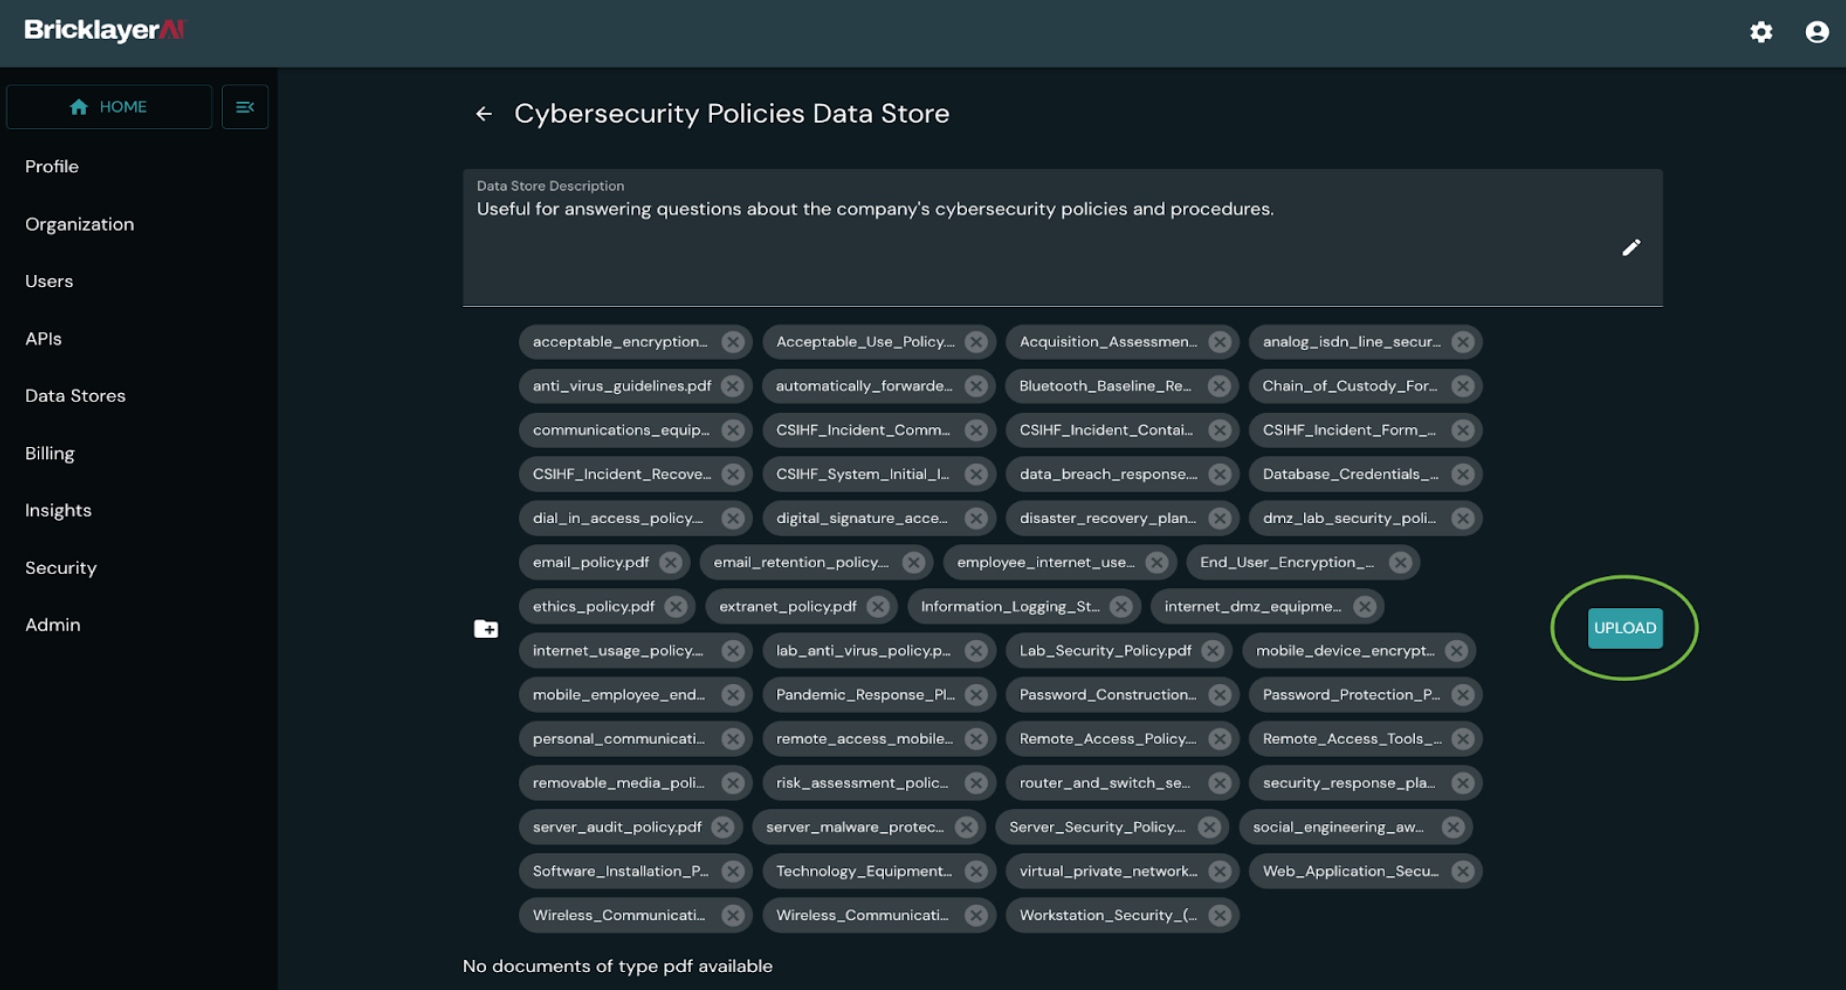
2 – Upload Documents: Select all relevant documents via the window that pops up. These documents should contain the textual information you want to query. Click “Upload” once you’ve checked the documents selected.

3 – Your data store set-up process is now complete! You should now be able to see all the documents inside your data store.


How do I Use a Data Store?
1 – Asking Questions: To extract information from your data store, navigate to the Bricklayer platform’s query interface. Here, you can ask questions in natural language related to the content of the uploaded PDFs.

2 – Receiving Answers: The Bricklayer platform will process your questions and provide you with answers based on the data within your organization data store. This allows you to quickly access the information you need without manually sifting through multiple documents.
3 – Iterate and Refine: You can continue to add more documents to your data store and refine your queries to extract more specific and detailed insights.
By following these simple steps, you can make the most of your organization’s data stores within the Bricklayer platform, streamlining your data access and analysis process for more informed decision-making.
4 – Fill out Form: Fill out the feedback form that pops up with your feedback description and hit “Send”. It’s as simple as that!

Conclusion
Data Stores on the Bricklayer platform offer a convenient and efficient way to manage and query text-based data. By understanding what they are, how to create one, and how to use them effectively, you can unlock the full potential of your data and gain valuable insights for your organization’s success.


